Understanding Clerodendrum
Before embarking on the journey of planting and nurturing Clerodendrum, it’s essential to gain a deeper understanding of these plants and what makes them so unique.
The Beauty of Clerodendrum Flowers
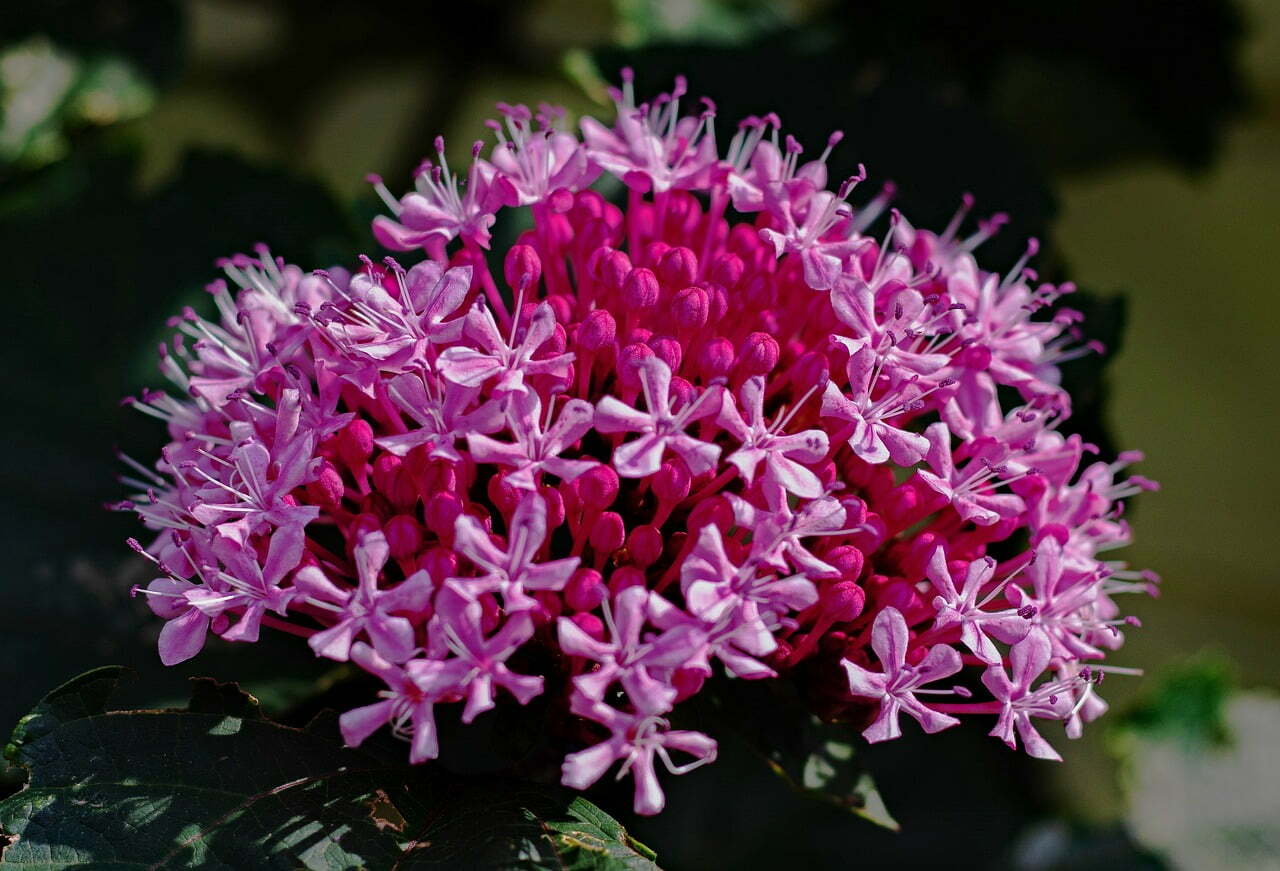
Clerodendrum’s claim to fame lies in its stunning, eye-catching flowers. These blossoms are a symphony of colors, with each species offering its unique palette. Whether you’re drawn to the fiery reds, the soft pastels, or the pristine whites, there’s a Clerodendrum species to suit every aesthetic taste.
One of the most remarkable features of Clerodendrum flowers is their shape. The intricate, tubular design of the blooms, often surrounded by an array of petals, is nothing short of mesmerizing. Some species even have flowers that resemble butterflies, adding an extra layer of charm to your garden.
The diversity within the Clerodendrum genus doesn’t stop at color and shape. Some species produce clusters of flowers that can span several inches, creating a dramatic and visually striking display. Imagine your garden adorned with these natural works of art.
Selecting the Perfect Spot
Now that we’re well-acquainted with the beauty of Clerodendrum, let’s delve into the practical aspects of planting and caring for these plants.
1. Sunlight Requirements
Clerodendrum, like many plants, have their preferences when it comes to sunlight. To ensure your Clerodendrum thrives, choose a location that provides full to partial sunlight. These plants typically require at least 4-6 hours of sunlight daily. Placing them in a spot with inadequate light may result in fewer blooms and less vigorous growth.
2. Soil Conditions
The foundation of a healthy Clerodendrum plant is the soil it’s grown in. These plants thrive in well-draining soil with a loamy texture. Loam soil is a balanced mix of sand, silt, and clay, providing a perfect blend of nutrients and drainage. To give your Clerodendrum the best start, amend the soil with organic matter such as compost before planting. This enriches the soil, promoting healthy root development and overall growth.
3. Spacing
When it comes to planting Clerodendrum, give them some room to breathe. Space your plants at least 3-6 feet apart. This generous spacing not only allows each plant to grow without competition for resources but also promotes good air circulation. Adequate spacing reduces the risk of diseases and ensures that each plant can access the sunlight it needs.
Planting Your Clerodendrum
With a firm grasp of Clerodendrum’s characteristics and the ideal conditions for growth, let’s get our hands into the soil and start planting these exquisite flowers.
4. Preparing the Soil
Before you place your Clerodendrum in the ground, take the time to prepare the soil properly. Begin by clearing the area of any debris or weeds. Then, enrich the soil with organic matter. Compost is an excellent choice, as it not only improves soil fertility but also enhances its drainage capabilities. This step sets the stage for healthy root development and robust growth.
5. Digging the Hole
Now, it’s time to dig a hole for your Clerodendrum plant. The hole should be approximately twice the size of the root ball of the plant you’re planting. This extra space provides the roots room to spread and establish themselves comfortably.
6. Planting
Gently remove the Clerodendrum from its container, taking care not to damage the roots. Place the plant in the hole you’ve prepared, making sure it sits at the same level as it did in the nursery container. Backfill the hole with the soil you removed earlier, patting it down gently as you go to remove air pockets. Once the plant is secure, give it a thorough watering to help settle the soil and hydrate the roots.
Caring for Your Clerodendrum
Congratulations, your Clerodendrum is now in the ground, and the journey of nurturing these exquisite flowers begins.
7. Watering
Consistent moisture is key to a healthy Clerodendrum. While these plants appreciate moisture, they don’t like to be waterlogged. To strike the right balance, water your Clerodendrum deeply when the soil feels dry to the touch. This typically means watering every 7-10 days, but it may vary depending on your climate and soil conditions.
8. Pruning
Pruning is an essential part of Clerodendrum care. Regular pruning not only helps maintain the plant’s shape but also encourages new growth. The best time to prune your Clerodendrum is after it has finished flowering, which is usually in late spring or early summer. During this time, you can remove dead or overgrown branches to keep your plant looking its best.
9. Fertilizing
To ensure your Clerodendrum remains healthy and vibrant, provide it with proper nutrition. Feed your plants with a balanced, slow-release fertilizer during the growing season, which typically spans from spring through summer. This boost of nutrients will support robust growth and abundant flowering.
Common Pests and Diseases
As a responsible gardener, it’s essential to be aware of potential challenges that may arise while caring for your Clerodendrum.
10. Pest Control
Common garden pests, such as aphids and spider mites, can occasionally target your Clerodendrum. Keep a close eye on your plants and take swift action if you notice any signs of infestation. Several natural and chemical remedies can help keep these pests at bay.
11. Disease Prevention
Fungal diseases, such as mildew, can be a concern with Clerodendrum, especially in humid conditions. To prevent fungal diseases, ensure that there’s good air circulation around your plants. Avoid overhead watering, which can lead to moisture on the leaves, and instead, water the soil directly. This reduces the risk of mildew taking hold.
Enjoying the Fruits of Your Labor
With proper care and attention, your Clerodendrum will thrive and reward you with an abundance of beautiful flowers. These blooms will not only add charm to your garden but also attract pollinators like butterflies and hummingbirds. Your outdoor space will become a haven for wildlife, further enhancing the beauty of your landscape.
In conclusion, cultivating Clerodendrum is a delightful journey into the world of vibrant colors and natural elegance. By following these planting and care guidelines, you can nurture a flourishing Clerodendrum garden that will be the envy of your neighborhood. Remember, the key to success lies in providing the right environment, regular maintenance, and, most importantly, a deep appreciation for the beauty of nature.
FAQs (Frequently Asked Questions)
1. How often should I water my Clerodendrum?
- Water your Clerodendrum when the soil is dry to the touch, typically every 7-10 days. Adjust the frequency based on your local climate and soil conditions.
2. Can I grow Clerodendrum indoors?
- While Clerodendrum prefers outdoor conditions, some species can be grown indoors if you provide ample sunlight and space. Be sure to choose a suitable indoor variety and mimic outdoor conditions as closely as possible.
- Are Clerodendrum plants toxic to pets?
- Yes, Clerodendrum can be toxic to pets if ingested. It’s advisable to keep them out of reach of cats, dogs, and other curious animals.
4. When is the best time to prune Clerodendrum?
- Prune your Clerodendrum after flowering, typically in late spring or early summer. This allows the plant to recover and prepare for the next blooming season.
5. How can I encourage more blooms on my Clerodendrum?
- To promote more blooms, ensure your Clerodendrum receives sufficient sunlight and provide it with regular feedings of a balanced fertilizer during the growing season. Proper watering and pruning are also key factors in encouraging abundant flowering.