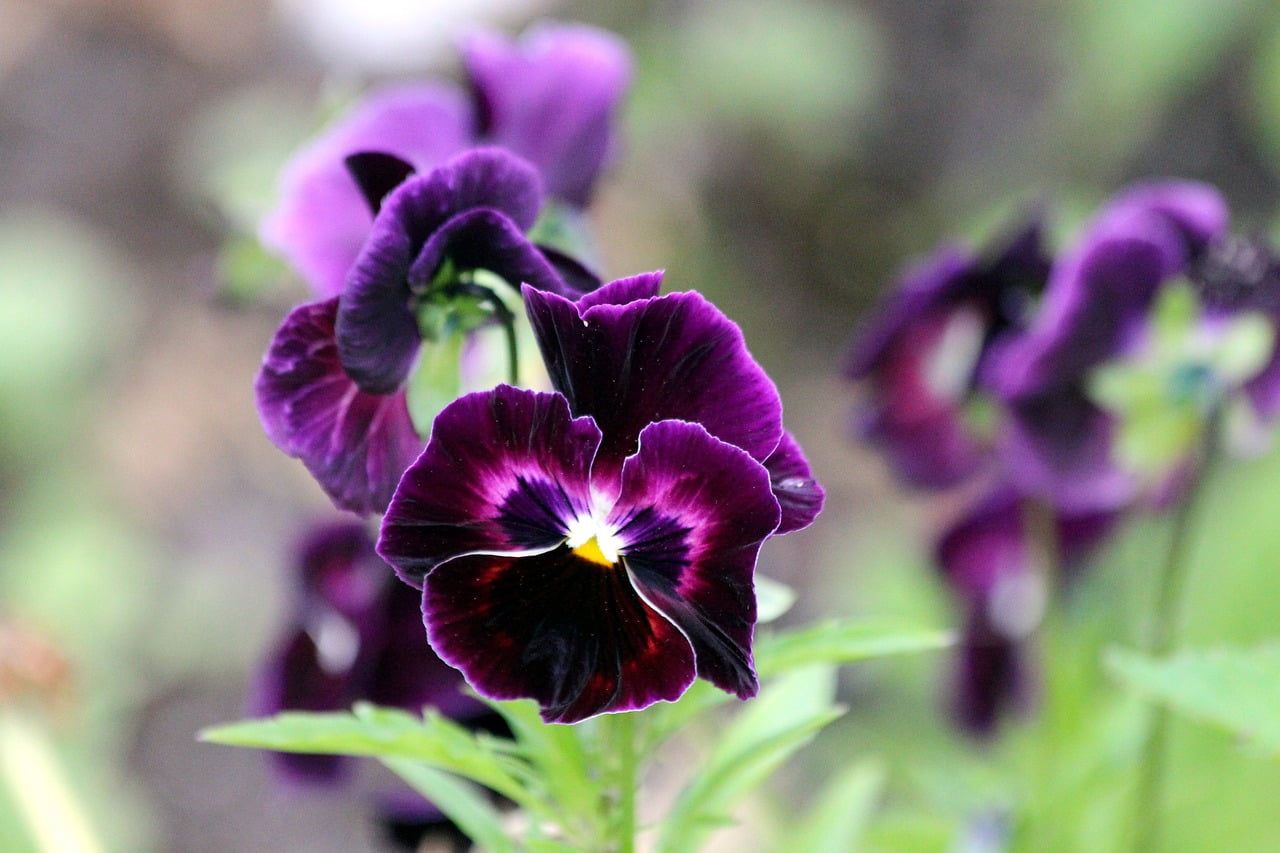
Viola and Planting: A Symphony of Color and Beauty
Table of Contents
- Introduction
- The Charm of Viola Flowers
- Choosing the Right Location
- Soil Preparation: Setting the Stage for Success
- Picking the Perfect Viola Varieties
- The Art of Planting Violas
- Nurturing and Care
- Companion Planting for Violas
- Dealing with Common Challenges
- Pruning and Deadheading Techniques
- Extending Viola Blooms: Tips and Tricks
- Harvesting Viola Seeds
- Crafting Garden Designs with Violas
- Violas Beyond the Garden: Creative Ideas
- Conclusion
- FAQs: Your Queries Answered
Introduction
In the world of gardening, few flowers can match the charm and elegance of violas. These dainty blossoms bring a symphony of color and beauty to any landscape. If you’re looking to create a stunning floral display, this guide is your ticket to success. From choosing the right varieties to mastering the art of planting and care, we’ll explore every facet of growing violas in your garden.
The Charm of Viola Flowers
Viola flowers, often referred to as “Johnny Jump-Ups,” captivate with their vibrant hues and delicate petals. These petite blooms come in a spectrum of colors, from deep purples and blues to soft pinks and yellows. Their charming appearance makes them a favorite among gardeners and a delightful addition to any outdoor space.
Choosing the Right Location
Before diving into planting, it’s crucial to select the perfect location for your viola bed. These flowers thrive in areas with partial shade, making them an ideal choice for gardens with varying light conditions. Choose a spot that receives morning sun and afternoon shade for optimal growth and blooming.
Soil Preparation: Setting the Stage for Success
Preparing the soil is a vital step in ensuring the health and vigor of your violas. These flowers prefer well-draining soil enriched with organic matter. Amend the soil with compost to improve its structure and provide essential nutrients. Loose, friable soil will encourage robust root development and abundant blooms.
Picking the Perfect Viola Varieties
Violas offer a plethora of choices when it comes to varieties. From classic favorites to unique cultivars, you’ll find a range of options to suit your preferences. Consider factors such as color, size, and growth habit when selecting your viola varieties.
The Art of Planting Violas
Planting violas is a straightforward yet rewarding process. Dig holes slightly larger than the root balls of your seedlings and gently place them in the soil. Space the plants according to their mature size, typically around 6 to 8 inches apart. Water thoroughly after planting to help the roots settle in.
Nurturing and Care
Caring for violas involves providing consistent moisture, especially during dry spells. Mulching around the plants helps retain soil moisture and prevents weed growth. Regularly deadhead spent blooms to encourage continuous flowering and maintain the overall appearance of the bed.
Companion Planting for Violas
Enhance the visual appeal and health of your garden by practicing companion planting with violas. These flowers complement a variety of other plants, such as pansies, daffodils, and tulips. Their low-growing nature makes them excellent companions for taller plants.
Dealing with Common Challenges
While violas are generally hardy, they may encounter challenges such as aphids or powdery mildew. Monitor your plants regularly and take prompt action if you notice any issues. Organic solutions like neem oil or insecticidal soap can help mitigate pest problems.
Pruning and Deadheading Techniques
Pruning and deadheading are essential maintenance tasks for promoting vigorous growth and prolonged blooming. Use sharp, clean scissors to remove faded flowers and any straggly growth. Pruning also helps shape the plants and encourages branching.
Extending Viola Blooms: Tips and Tricks
If you’re eager to prolong the beauty of your viola blooms, there are several techniques you can employ. Regular fertilization with a balanced fertilizer, providing adequate water, and ensuring proper air circulation can all contribute to extended flowering periods.
Harvesting Viola Seeds
Collecting and saving viola seeds allows you to propagate these charming flowers year after year. Wait until the seed pods are dry and brown before carefully collecting the seeds. Store them in a cool, dry place until the next planting season.
Crafting Garden Designs with Violas
Violas are versatile plants that can be incorporated into various garden designs. Use them to create borders, edging, or colorful patches in flower beds. Their compact size and vibrant colors make them a valuable addition to both formal and informal garden styles.
Violas Beyond the Garden: Creative Ideas
Beyond traditional garden settings, violas offer endless creative possibilities. Use their edible flowers to garnish salads and desserts, adding a delightful pop of color to your culinary creations. You can also press viola blossoms to create unique artwork or homemade greeting cards.
Conclusion
In the enchanting world of gardening, few blooms bring as much joy as violas. From their captivating colors to their versatile uses, these flowers have earned a special place in the hearts of garden enthusiasts. By following the steps outlined in this guide, you can cultivate a vibrant and flourishing viola garden that will be the envy of all who behold it.
FAQs: Your Queries Answered
- Q: Can I grow violas in containers?
A: Absolutely! Violas thrive in containers, making them an excellent choice for patios, balconies, and windowsills. - Q: Are violas perennial or annual?
A: Violas can be both annual and perennial, depending on the variety. Some may behave as perennials in milder climates. - Q: Can I eat viola flowers?
A: Yes, viola flowers are edible and can be used to add a delightful touch to salads, desserts, and beverages. - Q: How often should I water my violas?
A: Water your violas whenever the top inch of soil feels dry. Aim for consistent moisture, but avoid overwatering. - Q: Can I save viola seeds for next year?
A: Absolutely! Viola seeds can be saved and stored for the next planting season. Just ensure they are fully dry before storing them in a cool, dry place.